Amplify Reading
My Role
UX Researcher
UX Designer
Duration
4 weeks
Overview
Amplify Reading is one of Amplify’s Educational products. It includes over 50 mini-games for K-8 students. These games help students learn reading from the basics to high-levels. Each game is composed of a series of questions and has mastery criteria which means the minimum accuracy students need to make to complete a level.
Designing a Progress System Solution for Over 50 Games
In the current product, the mastery criteria is not visualized for all the games. However, visualizing the mastery could help students set a better goal of the game and learn how the game works in a comprehensive way.
Amplify Reading Exploration
I started by exploring the workflow of Amplify Reading.
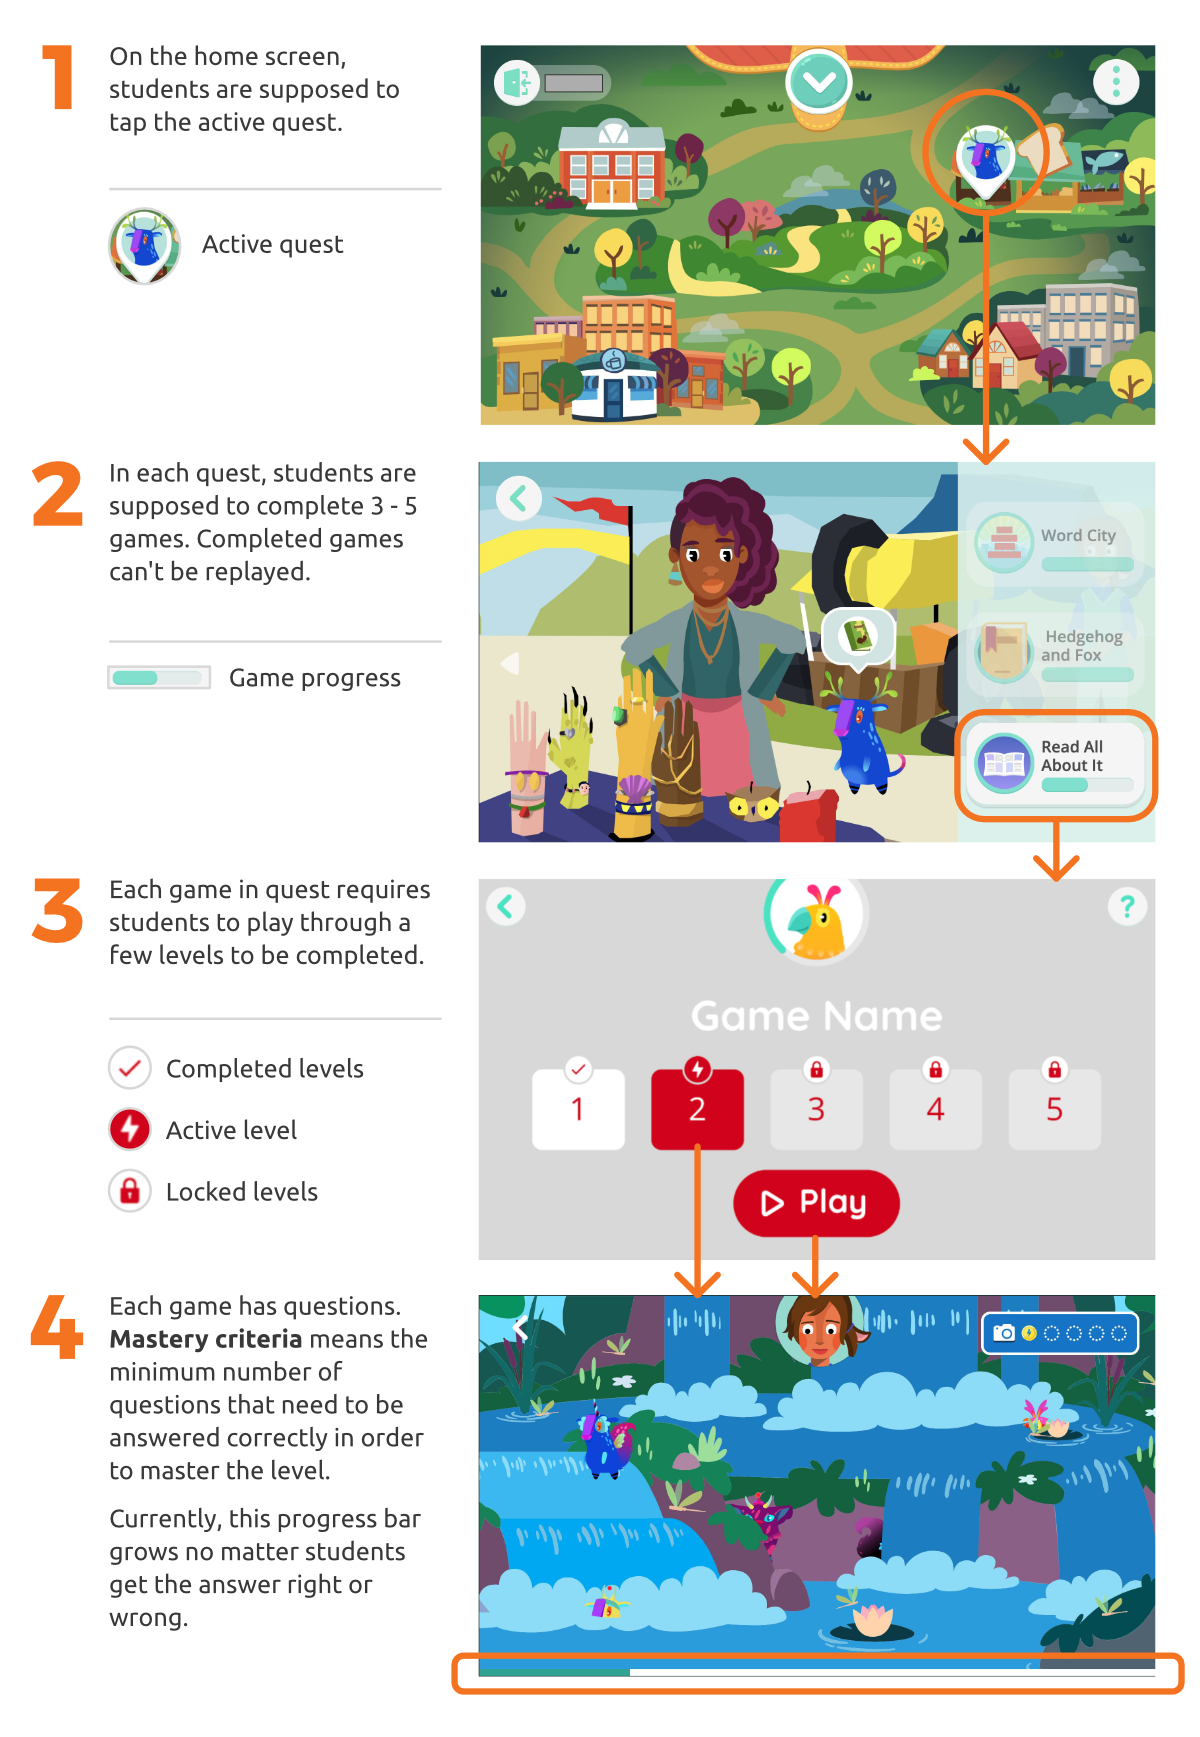
The task here is to come up with a global solution to help students get informed how much progress or how many out of all the questions they need to correctly answer in order to master the level.
Although the product is in a video game format, the essence is education. The goal of the product is to teach students instead of making them addicted to the game content. Therefore, a 2 attempts limit is set to prevent students from wasting too much time on one game. The game will be changed when students fail 3 times.
Kids are Tricky! Games are Different!
Different types of mastery criteria systems are implemented in current Amplify Reading games which makes it hard to apply one solution to all of them. I got a spreadsheet that records the mastery criteria and how it works for all the games from the design team. But since the design document cannot be 100% accurate as the build, I still have to play the actual game to find out more details. Other than technical issues, I also needed to take other usability factors such as accessibility, ethics and the balance between gaming and education into consideration.

Analyzing Current Criteria System
The current mastery criteria system is composed of 3 steps. To make the logic of layers more clear and help me organize the procedure better, I documented the 3 steps using the terminology that the company uses and found games that can be representatives for each step.
Progress Screen

- According to the playtesting feedback, some kids had difficulty finding out the meaning of the lightning icon because it’s not used as universally as the other two.
- Also, the colors of this screen follow the color palette of the game, some games built earlier might have accessibility issues.
In-game Progress Bar

- The progress bar increments no matter the right or wrong answer is given.
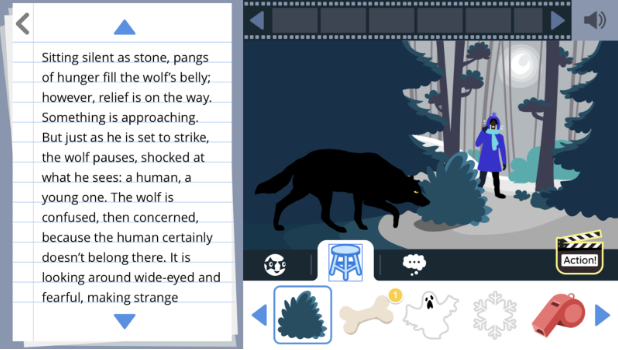
- Games that do not have a progress bar on the bottom either have their own mastery integrated in the interface or have a too complex mastery system to be visualized. For example, in Director’s Cut, one of the most recently developed games, the UI fills up the screen space so the progress bar cannot fit in.
Students spend most of the time on this screen so the design of the in-game progress bar is the most important and also the most challenging part.
End-of-level Screen
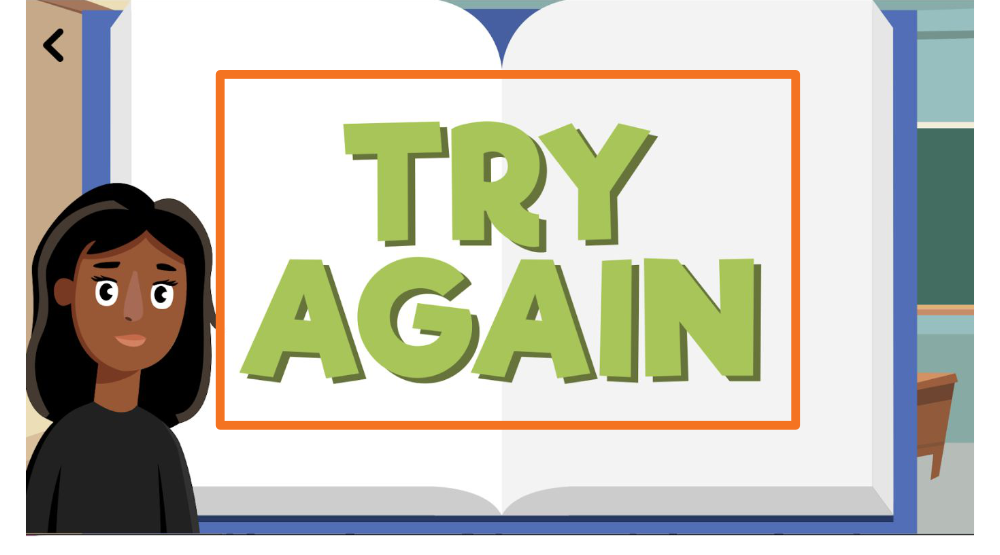
- Some, but not all games have an end-of-level popping up that tells students whether they meet the mastery or not. The end-of-level pop-up could give students a buffer between the level and progress screen.
Summarizing the Pain Points
Overall, the problems in current Amplify Reading can be summarized into 4 pain points.
-
Lack of goal setting
-
Lack of system transparency
-
Confusion at the end of levels
-
Confusion on the progress screen
Finding Similar Systems in Other Games
After the research, I looked up on a few mastery examples from successful games including Neighbors from Hell, Super Mario 3D Land, Angry Birds and Cut the Rope. By observing these games, I found out there are actually patterns of mastery criteria in video games. For mobile, desktop or TV games, the mastery usually displays in different ways due to the screen size and space.
According to the user data, students play the games on mobile screen a lot when they are home. For the adaptation purpose, it is worth focusing on the mobile screen which is smaller than other ones.
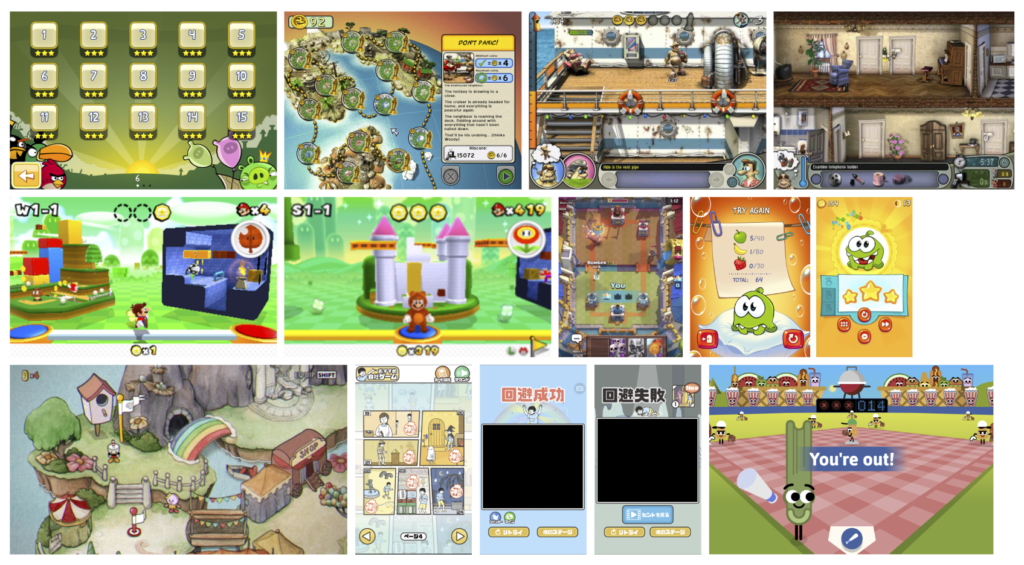
Although I was already really familiar with those games, they inspired me on many new aspects when I looked at them from a designer’s perspective instead of a player’s.
Trying Out Different Solutions
Drafts
I started designing with the in-game screens and extended to the progress screen and end-of-level pop-ups. For the first couple of mockups, I tried to use the triple star system, percentage system and trophy system. All of them didn’t seem to work out for children from such a young age group.

I collected some interesting feedback after discussing with co-workers. It’s worth considering the perception ability difference between K-2 and 3-5 graders and either make the design more friendly to younger kids or make two versions for different age groups. Also, it is very important to think about ethical issues, for instance, should we show too cruel information to children?
Creating Hi-fi Prototype to Ensure Kids Understand
After a series of discussions, I ended up with universal solutions for progress screens and end-of-level screens as well as two models for in-game screen.
Model 1 Workflow
This proposal uses a very small part of the screen and shows every detail needed clearly. However, for some games that use different interface layout, an alternative proposal is needed.
Model 2 Workflow

This model puts everything in a corner which is very capatable for those games that don’t have space for a progress bar.
Using Animations to Engage Children
Since kids might have difficulty understanding low-fedility prototype, I made animated prototypes to help them fully understand how it works.


Last but not least, I used some games to demonstrate how to make the end-of-level screen consistent by using the same language and layout integrated with the game’s visual style.

Creating Detailed Playtesting Plan
For the next step, I’ve sent the prototypes and playtesting instructions to the playtesting specialist. Here are some research questions to be answered.
- On the Progress Screen, do students know which level they should click on.
- During the gamp-play, do students understand the in game mastery bar / star?
- Do students understand the meaning of sections on the new mastery bar / blank on the star?
- Do they want to click on it? Is the pattern distracting?
- Do they understand why it grows?
- Do they understand what the star means?
- Do they notice and understand different effects on the bar (correct vs. wrong)?
- When they get to the end of level pop-up, how do they respond to the messaging
- Do they understand the relationship between star in game and star on progress screen.
Measuring Success & Implementing Design
The usability testing went very well. Kids were able to understand the concept of the mastery criteria and gave positive feedback on it. The mastery criteria was slightly changed by a coworker and now has been used in the Amplify Reading app.